Wednesday, August 19, 2015

Lilly and I took vacation this week, so, of course, I took the opportunity to buy a miter saw and build a table for it. I stole the basic design from a pinterest post -- Lilly has officially gotten me to get on pinterest... but I edited the design to fit into the space we have in the shed. Here is a picture after I had gotten the basic frame built:


The miter saw will go in the open gap. Here it is basically done as of tonight:


I need to add a sheet of plywood over the bottom shelf supports and I need to anchor the saw down with bolts, but I'm basically done. Now on to building new projects with my awesome new saw!

Saturday, August 15, 2015

Isa and Lilly went shopping today, so I was able to get some work done. I installed a third wireless router outside under one of the eves of the house. It is an old router that we just had sitting around, so I don't really care if it gets messed up out in the elements. If it stops working, I might replace it with a router that is actually designed to be outside! Anyway, I had to run power and ethernet through the attic and I routed it out through one of the attic vents. Here's the pic:


I figured out where I could put screws that would miss the electronics inside and I drove 4 screws into the feet to secure it up-side-down under the eve. It has increased the wireless coverage outside the house tremendously. I now get consistent wireless signal at our picnic table and out in the shed -- enough to stream video. I need to put a more permanent patch over the vent to keep little critters out of the attic, but now I'm mostly done with the wireless project. Yay!

Wednesday, August 12, 2015

Over the last few day I've been working on a project for Isa's room. We didn't build a closet into the new room because it can't technically be a bedroom without a few other improvements, so it is officially a den. But, with Isa now living in the room, she needed somewhere to hang her clothes. We stole this idea off pinterest, but I edited it a little bit to fit the space in the room and also Isa's needs as far as shelves and hanging space.


Isa is testing out a gray paint color for the walls in the corner, so ignore that. We intend to add baskets and other stuff on the shelves for storage. Cool! I'm pretty happy with how it turned out.

Monday, July 13, 2015

Getting the wireless in place

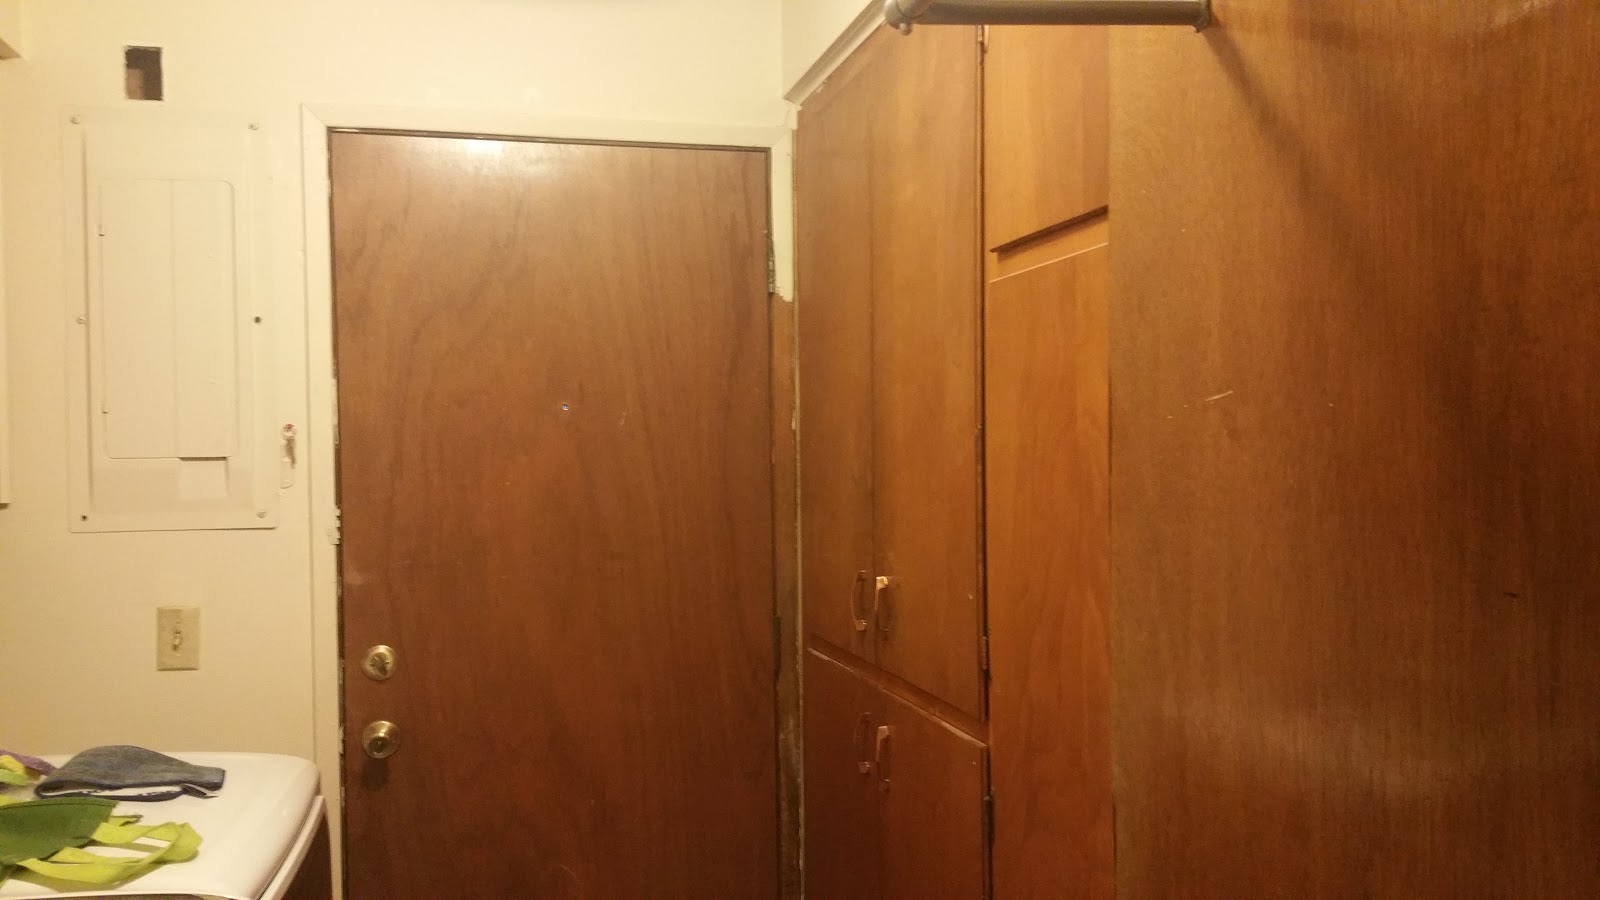
Ok, this weekend I decided to tackle positioning the wireless routers where I wanted them. Since the house is really long and narrow I wanted two routers -- one on each end. The hardest part about this whole project is that the routers need to be directly connected to the main (non-wireless) router that is in my office closet. The easiest way to do that is to run cable through the attic, so I also wanted to mount the routers on the ceiling out of sight. BUT then the routers would need electrical plugs that are also out of sight, so I decided to add electrical outlets in the attic directly above where the routers were going to be mounted. The first thing I did was run a new romax (electrical) cable into the circuit box:

Here you can see the cable fish which is essentially a metal strip (on the orange spool) that is fed through a new hole that I drilled above the circuit box. In the attic, I attached the new romax cable to the fish and then pulled the fish back down from the attic (with the new cable attached):

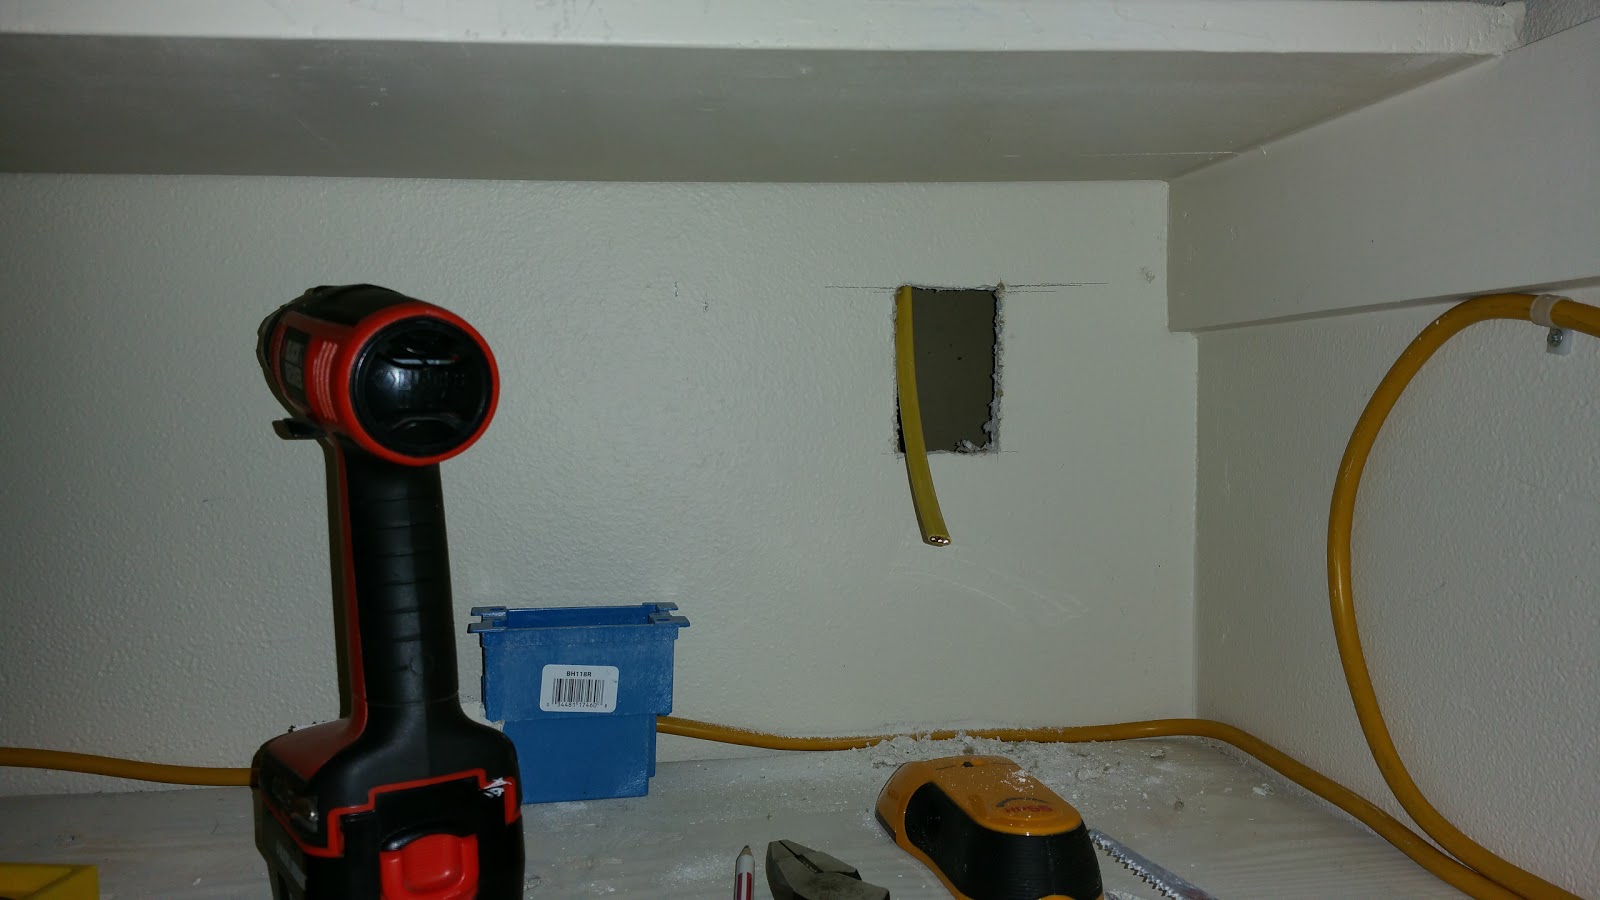
The new cable is the yellow one coming down from the attic. Above the kitchen, I installed a new blue electrical box and wired the new outlet:
Then continued the cable to the next outlet that is above the hallway, near the second bathroom:

Then I continued on and decided to add a plug in the closet since I was using an extension cord to power the switch, modem and router:

After getting all the plugs wired properly, I went back to the circuit box and connected that end to a breaker that we weren't using (I removed the garbage disposal a year ago, so that breaker was not being used). Finished plug in the closet:

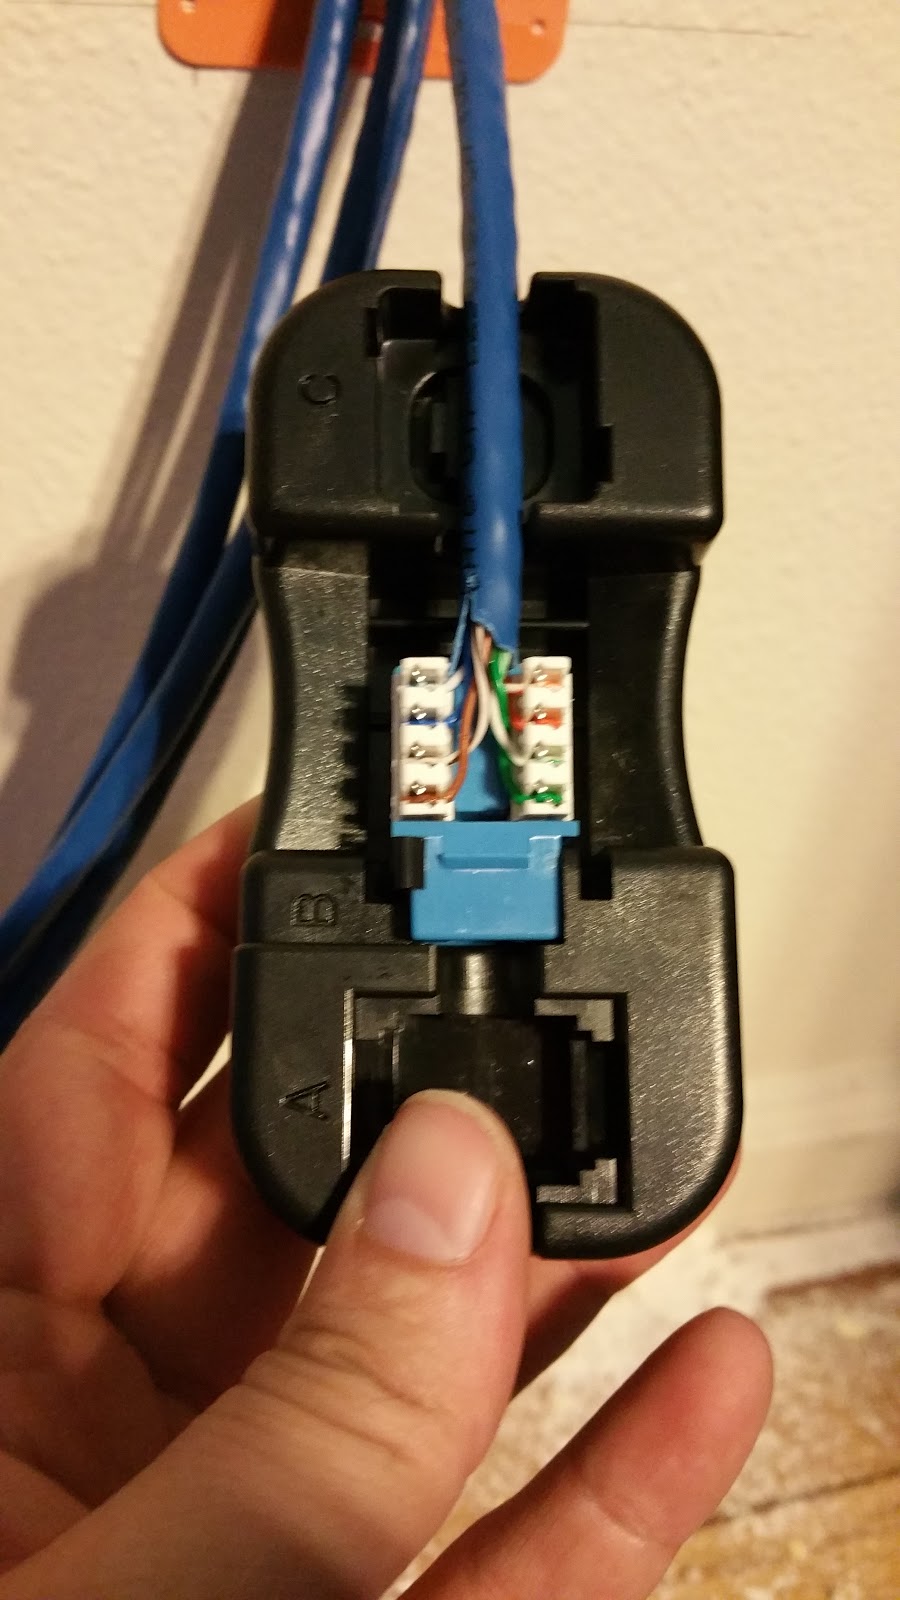
I tested all of the outlets with a tester thing and they all seem to be working fine. Next, I ran ethernet cables and the power cable for each modem through a small hole in the ceiling above where I wanted to mount each router. This is the finished router in the kitchen:

And the finished router in the hall (the white box is the doorbell):

I'm probably going to change how this one is mounted, but it's up there! Now wifi signal covers the entire house with a strong signal throughout. I am still going to add another router outside to supply signal to the patio and storage shed (where I work while watching football games), and I also need to patch the hole in the laundry room above the circuit box, but that is a project for another weekend!

Monday, June 22, 2015

Second day

Ok, so yesterday I was able to finish pulling wire into the master bedroom and into my office. See below for a picture of one of the awesome holes I put in the wall:


That hole is in my office under my desk. I also took a picture of what it looks like when I'm punching down the cable into the keystone jacks that pop into the face plate that covers that hole:


Ok, after I finished punching down the wires in each room it was time to tackle the other end of the wires, which were all sticking through a hole in the ceiling of my office closet:


Yes, that is a rag that I stuffed into the hole to stop the insulation from falling down from the attic. In hindsight, it may have been better to run the cables through a hole in the wall rather than the ceiling, but hey -- what's done is done and the rag is stopping the continual flow of insulation pretty well. I had to trim the wires a lot (we ran several feet extra on each run just in case) and then I started punching each one into the patch panel. Don't ask me exactly what the advantage of the patch panel is, other than it is a nice tidy place to end all of these long wires. That's really all it does as far as I can tell. Here is a picture of the back of the patch panel after I punched down all of the wires:


You might notice that there is a gap in the middle of the wires. I had allocated space to drop four (4) wires into the guest bedroom (aka Lilly's new library) but she covered all of the walls with bookcases and we didn't want to move them to drop wires. We still might add them in the future though, so I left the space in my panel. Next, I mounted the patch panel and the switch into a rack (this is a musician's rack, not a server rack that you would normally use, but it was WAY cheaper and works the same). I used short one (1) foot patch cables to patch each port from the patch panel to the switch. The switch is where the real magic happens. This is a picture of the switch and the patch panel mounted:


So, to summarize, the "internet" comes from Comcast and comes in through the wall and runs via coaxial cable into the closet:


You can see that I ran that cable along the ceiling and I intend to paint it to match the wall. Once the coaxial reaches the closet, it attaches to the modem that converts the cable signal to a signal that travels on ethernet cable. In the next picture the modem is on the bottom right. Then the modem attaches to a router (bottom left) which then attaches to the switch. The switch attaches to each cable that is running through the wall (via the patch panel) and distributes internet signal equally throughout the house.


Whew. I finished all of that around 10pm last night. I still need to get the three wireless routers up and running -- that's coming next!

Sunday, June 21, 2015

First day of work

Ok, yesterday we were able to get ten (10) wires dropped into the shared wall between the living room and the new den/bedroom. We used an electrical box that was existing in the wall on both sides. Below you can see the wires on the attic side and on the bedroom side. The other end of the wire is fed through a hole in the office... we'll get to the office end of the wires later -- I haven't touched them yet.
In the next pictures you can see the wires are punched into the RJ-45 jacks and snapped into face plate and secured to the wall.
The one with four (4) is on the bedroom side and the one with six (6) is on the living room side. I also had to move the place where the cable entered the house. It used to be in the farthest guest bedroom near where the red dot is on the floor plan that I posted yesterday. Now it enters the house in the office, high up on the wall so I can run the cable along the top of the wall into the closet. Here are a couple of pictures of that:
So that's all I was able to accomplish yesterday. We'll see how it goes today!

Saturday, June 20, 2015

Getting started

I've always wanted to have a completely wired home network. My wife and I both expect instantaneous response speed when using any device. We've been having trouble with that lately because we have only one wireless router that is on one side of a very long and narrow house. This poor little wireless router is supporting my main computer via a wired connection (which also serves as a media server) and several wireless devices: two cell phones, two iPads, two laptops, a Roku 3, sometimes a Chromecast, the Dish Hopper, the TV, the blu-ray player, the wireless printer and sometimes a Wii. Everything is connected to wi-fi these days. We found that when all of those devices were running, we couldn't even browse facebook while sitting on the couch. Sad. Unplugging the Roku helped a lot, but what if we wanted to browse facebook and watch the Roku at the same time? My wife never does just one thing at a time (always multi-tasking). Here's the floor plan of our house:
The red dot is where the lone wireless router is located right now, and the two green dots are where the old router and new router will be placed. The two new places may not be exactly the best and most center, but they will cover the whole house much better than what we have now. We are also going to place a router outside the house on the deck, to extend the wireless outside on the deck where we like to hang out when the weather is nice. My original plan was for the switch and other equipment for the wired network to go in the laundry room in one of these cabinets:
After exploring the attic a little bit, I realized that it would be very difficult to run wires to that far back corner of house, so our new plan is for the switch to be in the closet of the office:
This closet is right next to the hall that runs down the center of the house to all of the original bedrooms. Since it is centered in the house, it will make running wires to it very easy. The plan is to have four (4) separate cat6 wires running to each bedroom and five (5) running to the living room entertainment center. While I'm at it, I'm going to run a coaxial cable from the office to the TV. We have Dish (satellite) right now, so we don't need the TV to be connected to cable right now, but our Dish contract is up in September and we will probably switch to Comcast cable TV at that point. Since we already have Comcast internet, it will be cheaper to bundle that for a few years. Now I need to start running the wires!